BLOG!!!

So we’re going to give this a shot. Seems like a good idea to have a place to put my most current project, chat about it a little bit, show some pictures. I feel like people often start these and then at some point just stop updating them once they get too busy, but we’ll see.
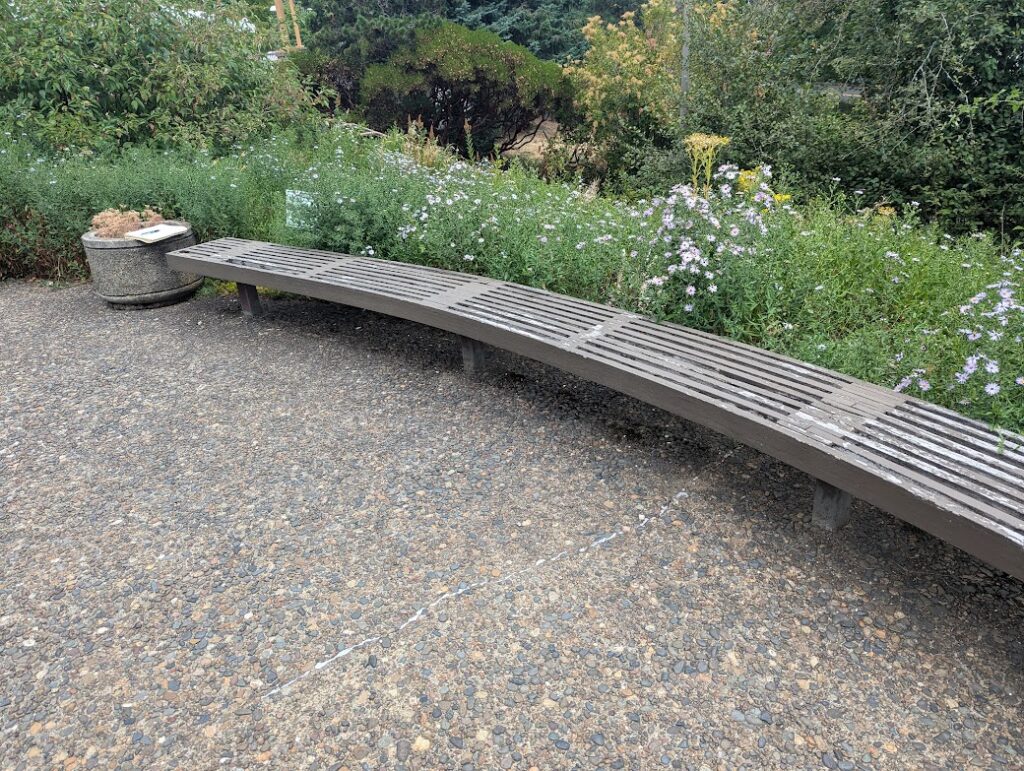
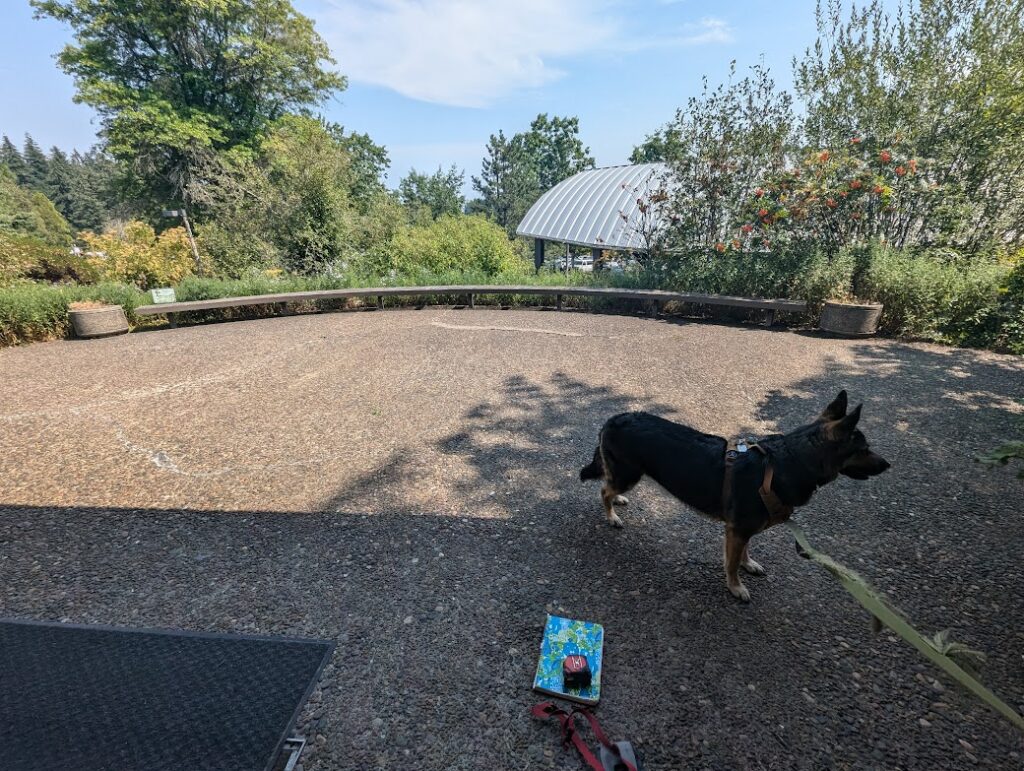
World Forestry Center bench at Cheatham Hall-September 2024
This fun project was to replace a forty foot long bench outside Cheatham Hall at the World Forestry Center up by the zoo. The old one might have been cool at one point, I’m sure the carpenters that built it were pleased with themselves for it’s clever construction, but it was in utter disrepair, it was hard to maintain (painting in between the slats), and honestly, it just kind of looked like something you’d see at a condominium complex from the 80’s.

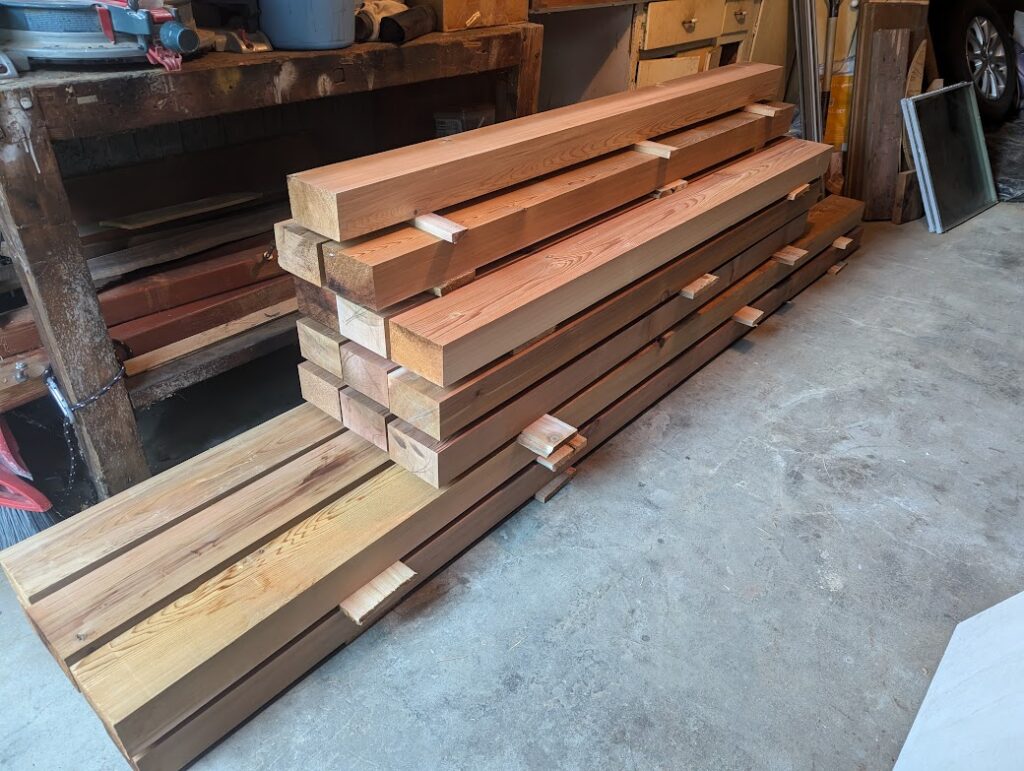
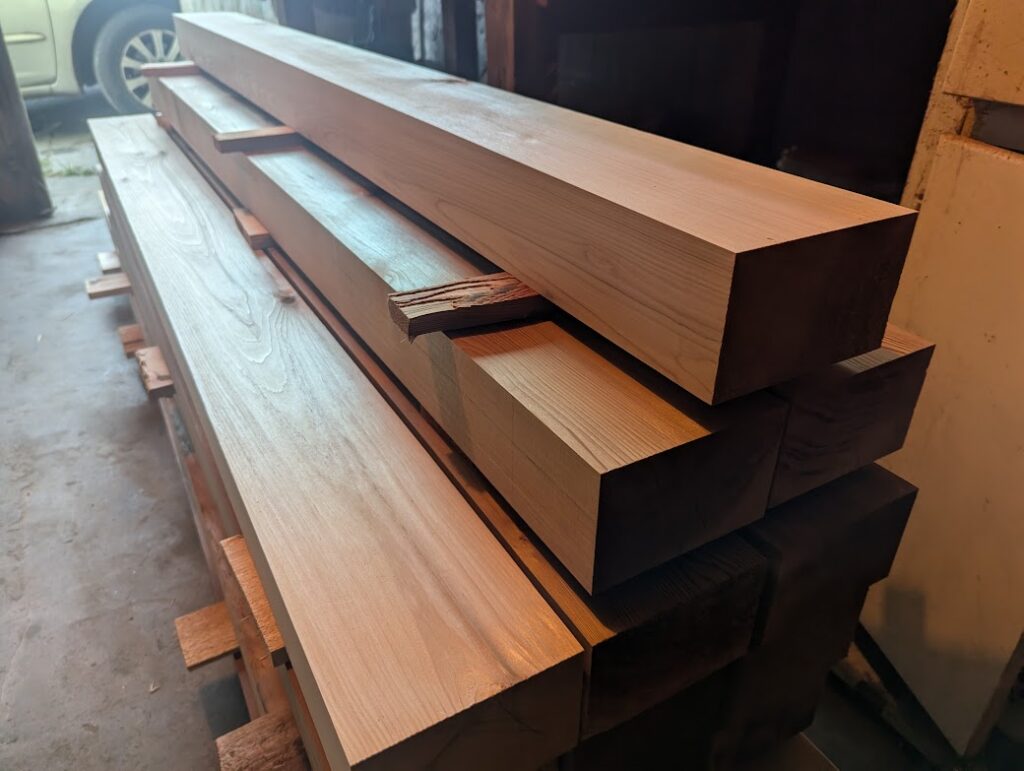
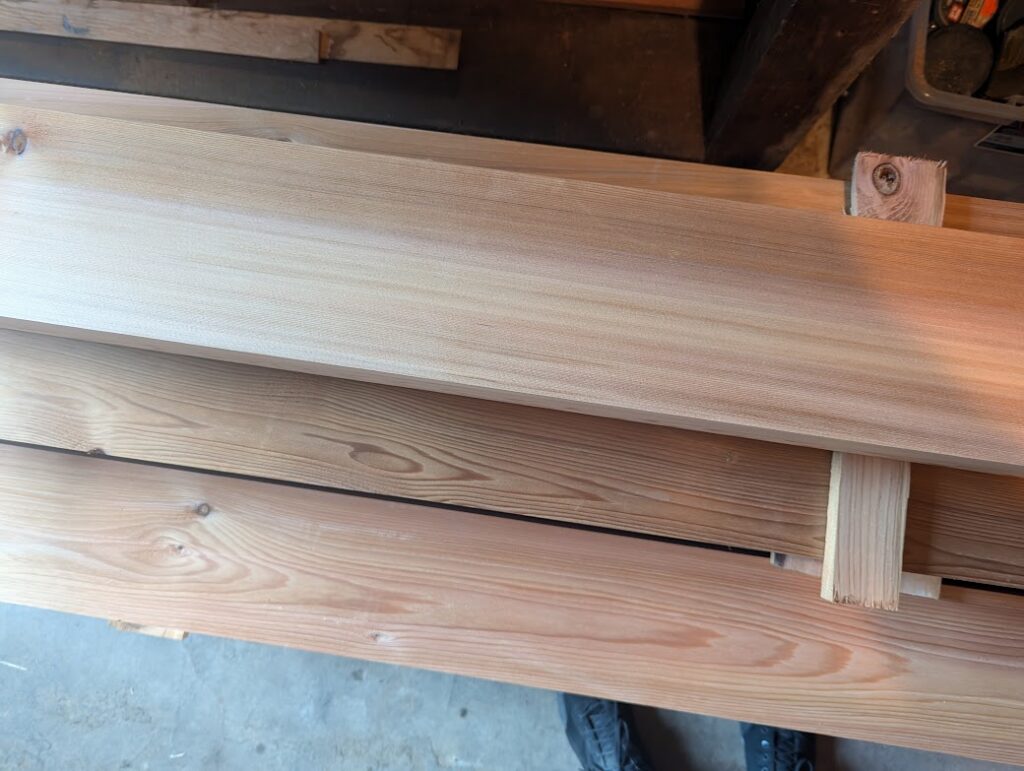
Much to my relief, they did not want the same thing again, so the question was what should it be. After going through a few options in my head, I arrived on three 4×6 of some kind of weather resistant wood. This would maintain the original seat height and width, would be easier to maintain, and if the wood was pretty, would look cool. My initial thought was cedar, but then I remembered that cedar is a bit soft and we live in a society of maniacs and hooligans that are happy to ruin nice things, or at the very least unwilling to be inconvenienced in the slightest to not ruin nice things, so something a little more robust might be in order. I thought maybe redwood, which is similar to cedar but a bit harder, but that’s really hard to find. There’s a place in Eugene that does redwood, but they told me that while they had the wood I needed, it was really green (not yet sufficiently dry) and wouldn’t be available for at least a month. So back to cedar. I came to the conclusion that if someone was intent on doing it harm, I could make it out of steel plated diamonds and they’d still find a way, so I couldn’t let that be the determining factor.
If you want nice cedar in Portland, don’t go to a lumber yard or big box store, go to Custom Cedar Products on 163rd and Sandy. The worst piece of wood there is better than the best piece you’ll find at Home Depot. They also helped me out cutting some larger stock down to what I needed and had it ready in time for my start date. Solid place. And the wood was absolutely beautiful and nicely milled.
Lest you think I’m only an amazing carpenter, I’m also a world class draftsman. Here’s the plan I sent the Forestry Center.
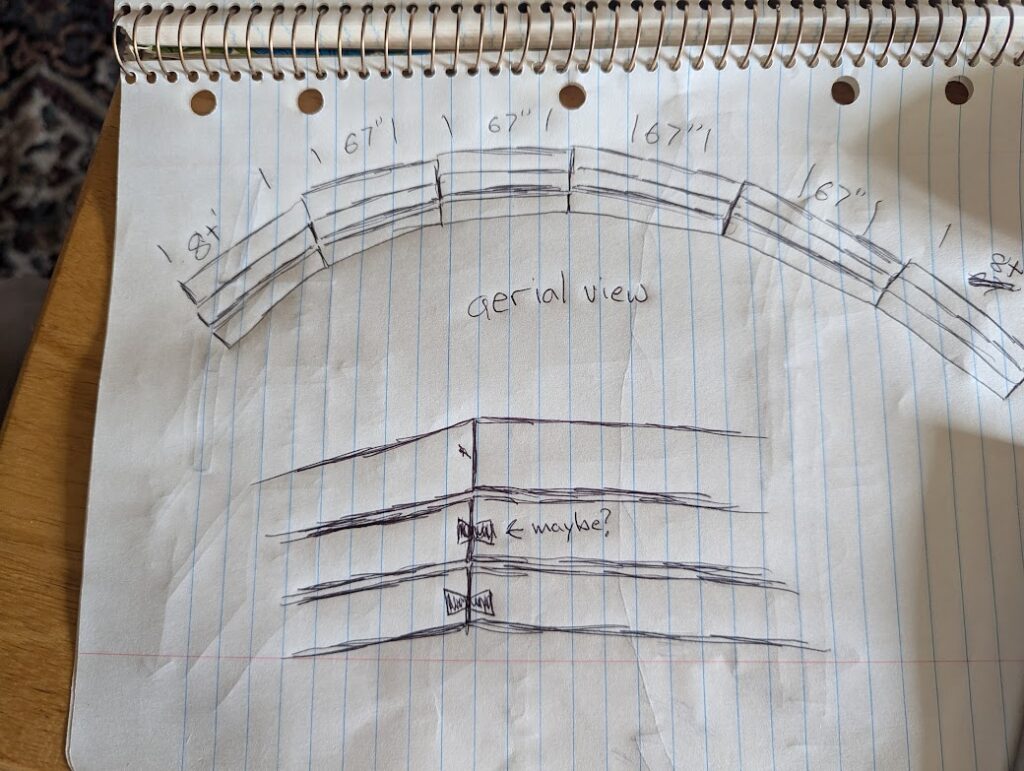
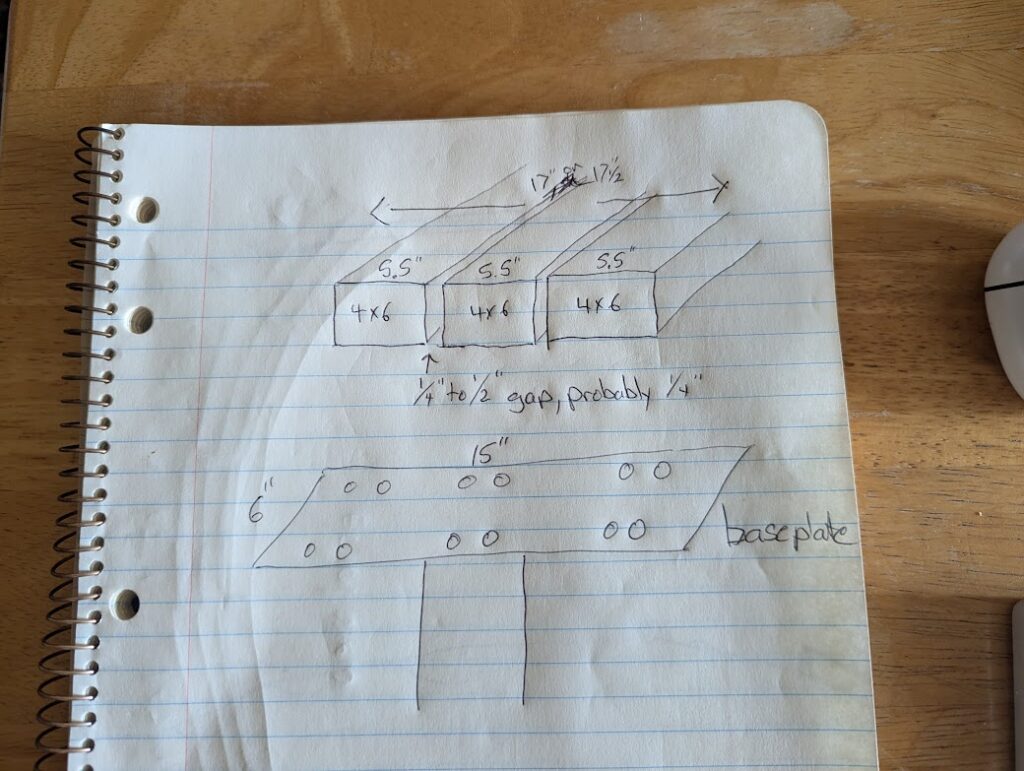
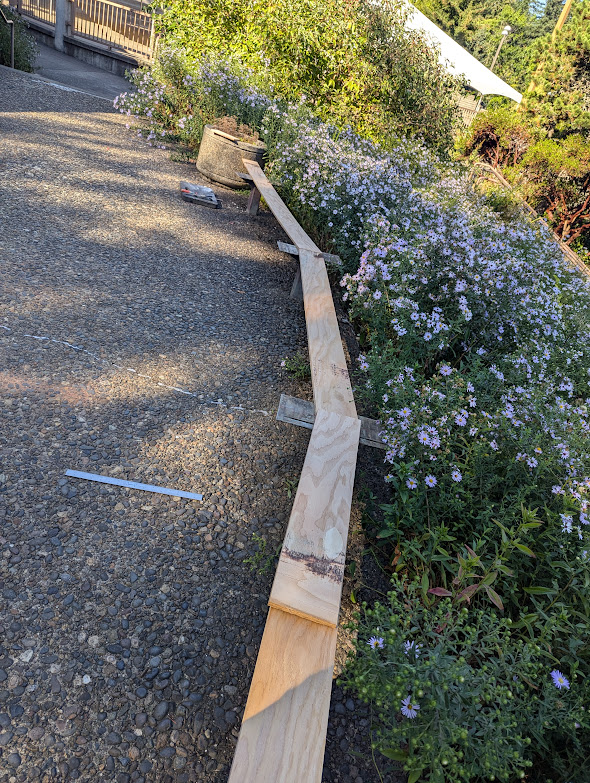
Each one of those timbers was expensive, so I wanted to do it right the first time. I got a sheet of plywood that I cut into 5 1/2 inch strips (the width of a 4×6) and the plan was to make a template for the middle row to assure that it was centered on the posts and then use that row to determine the front and back rows. As an added bonus, while demoing the old bench, I found a yellow-jacket nest with my right hand.
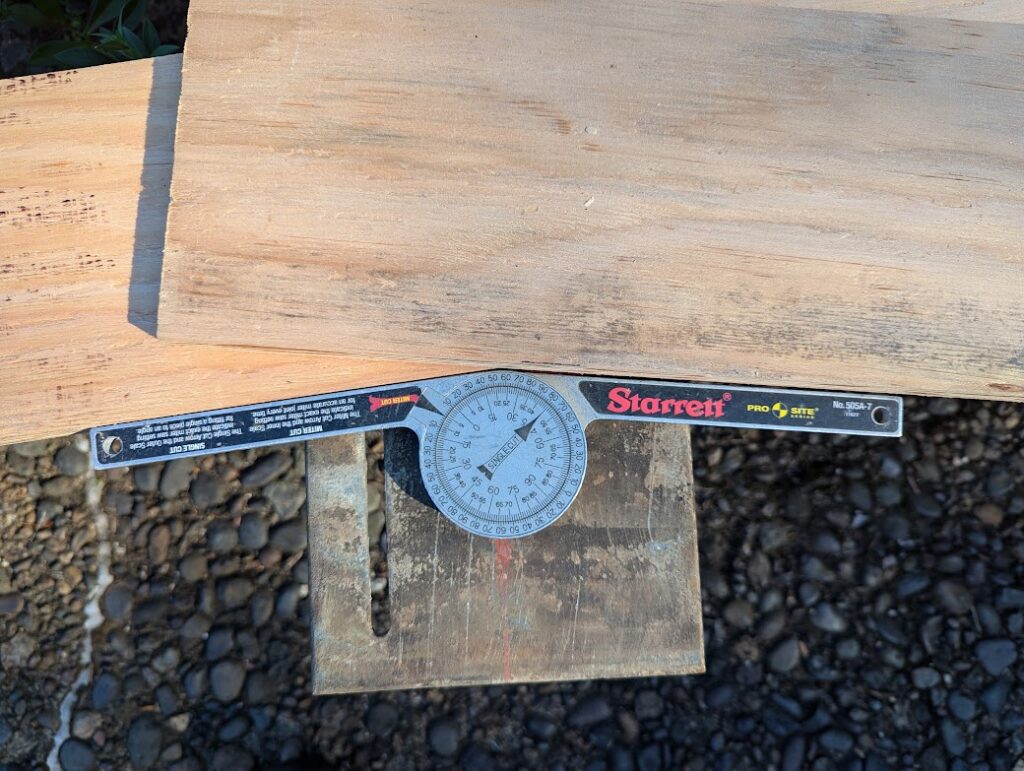
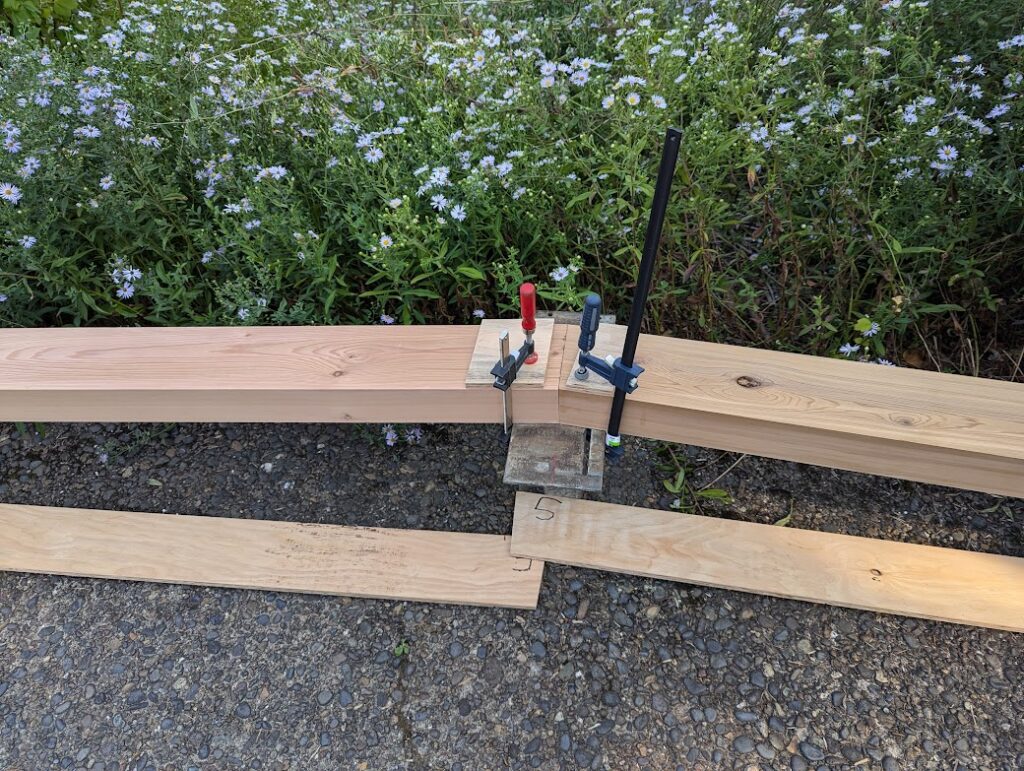
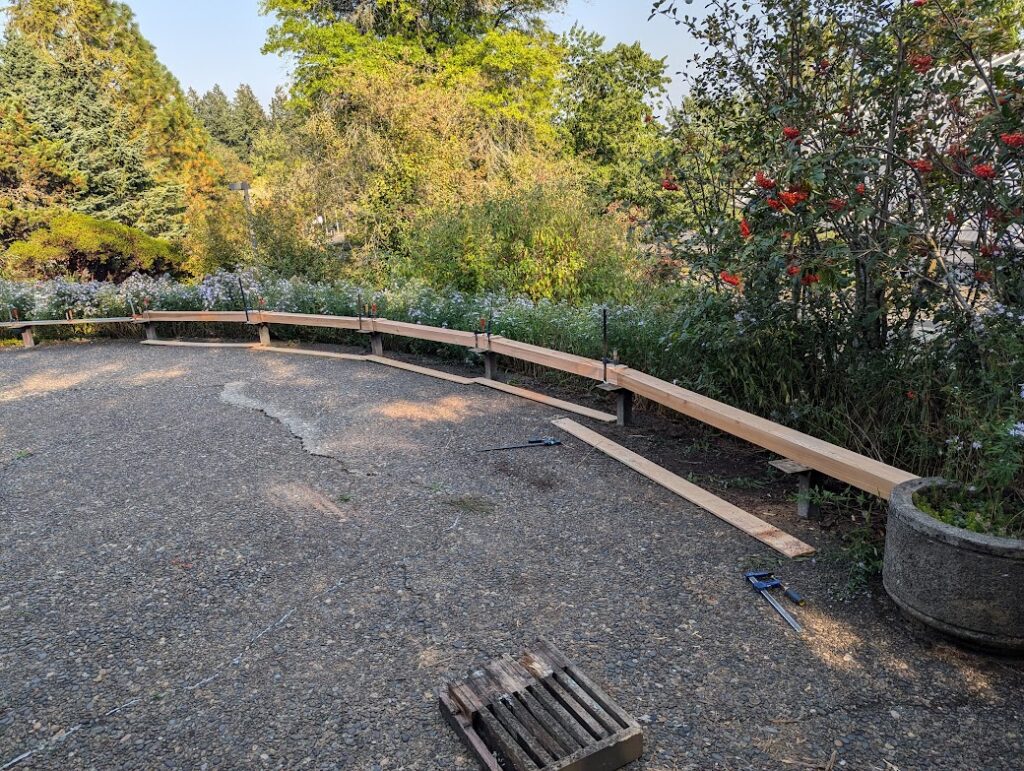
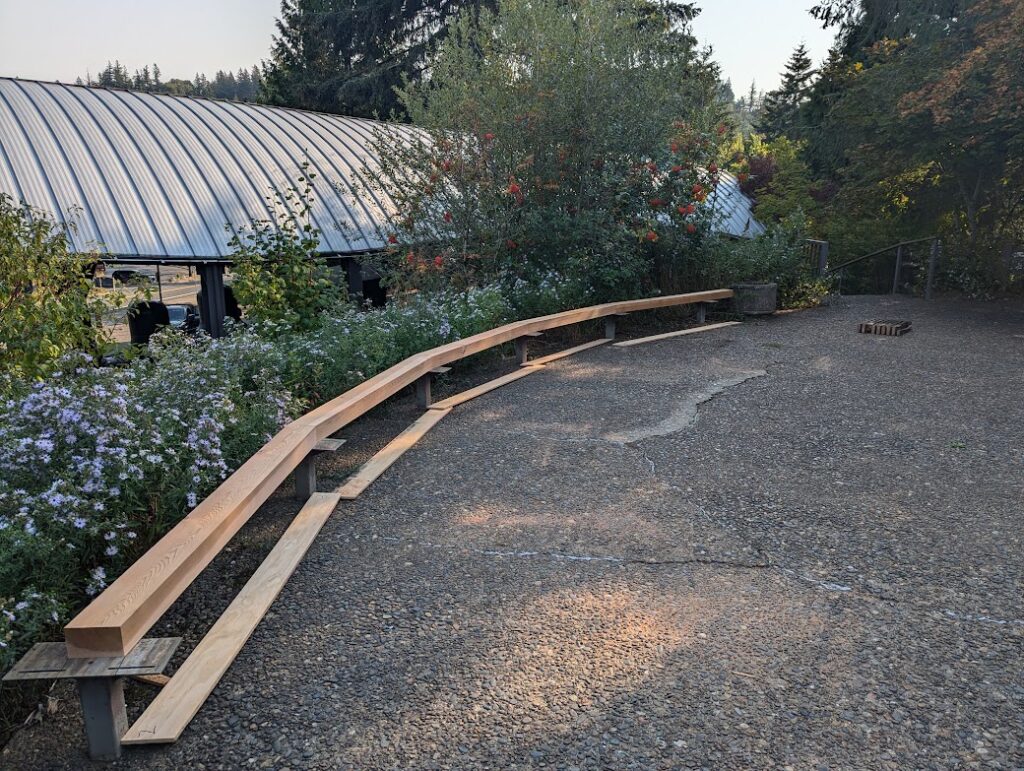
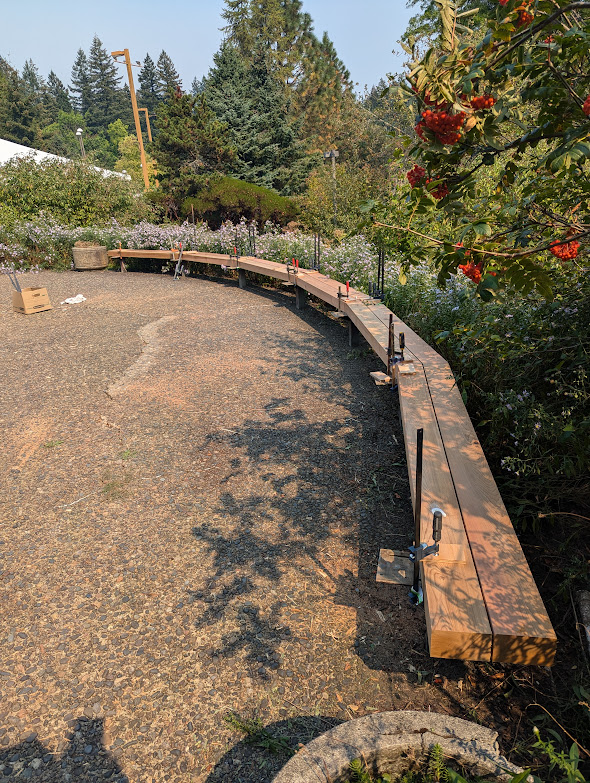
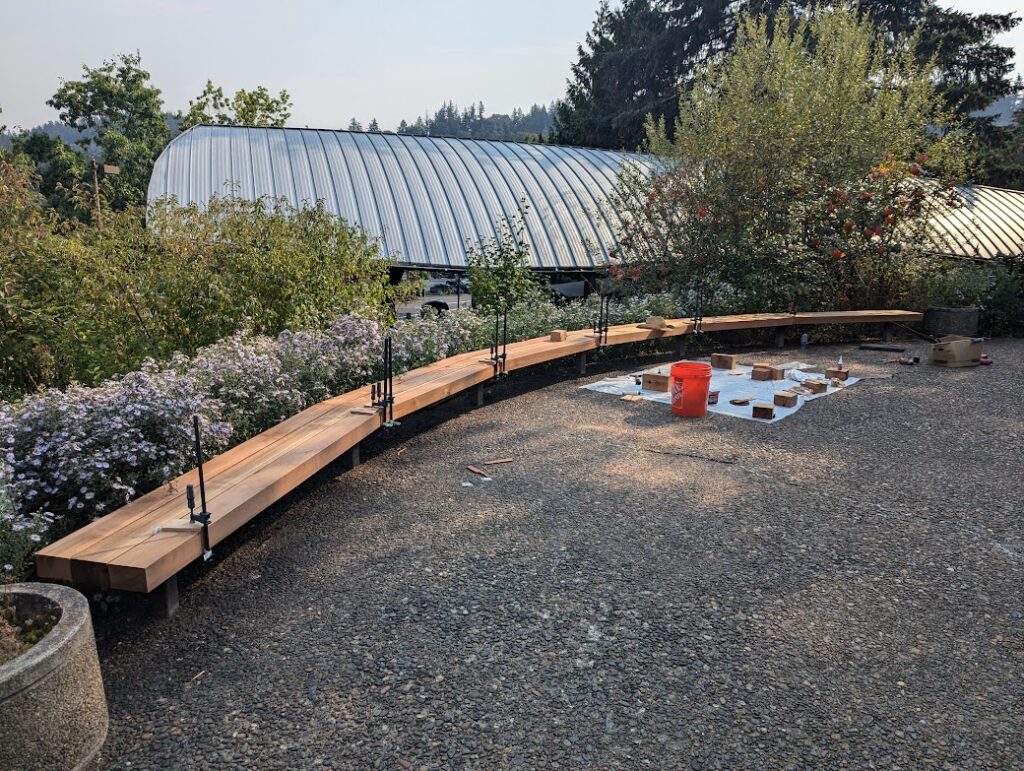
Once everything was cut to size and installed, I filled some knot holes with something called CA glue, basically super glue, rounded over the exterior edges a little, sanded everything down, put some end-grain goo on the ends to deter splitting and applied some Sun Frog cedar tone stain/finish to it.
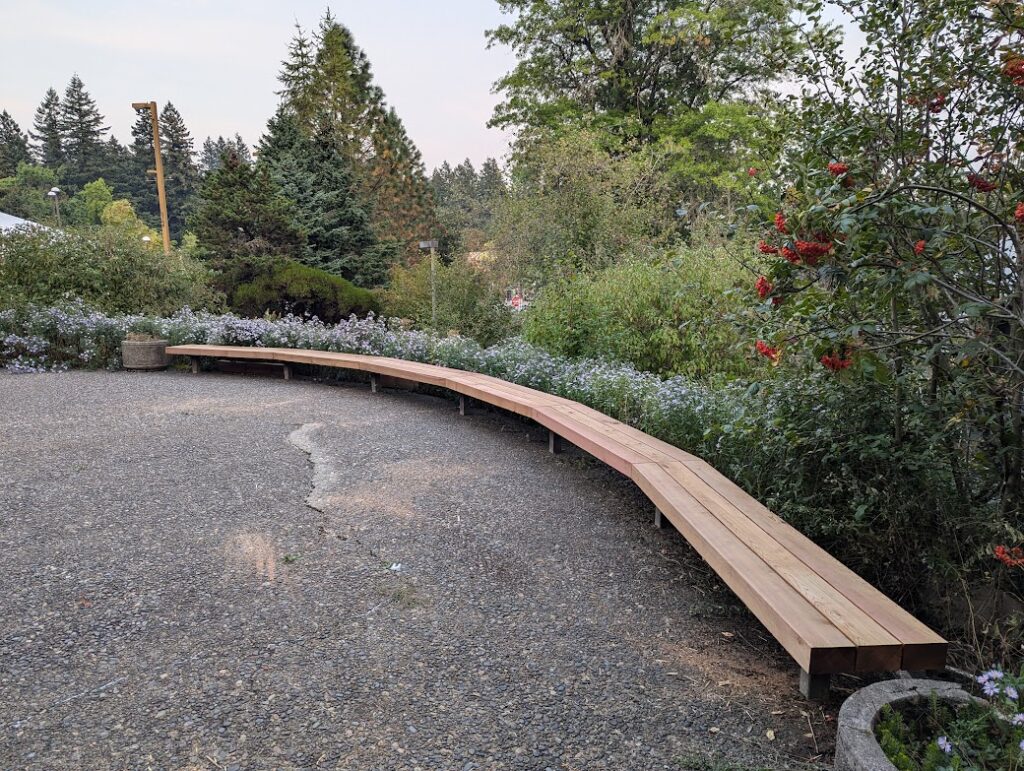
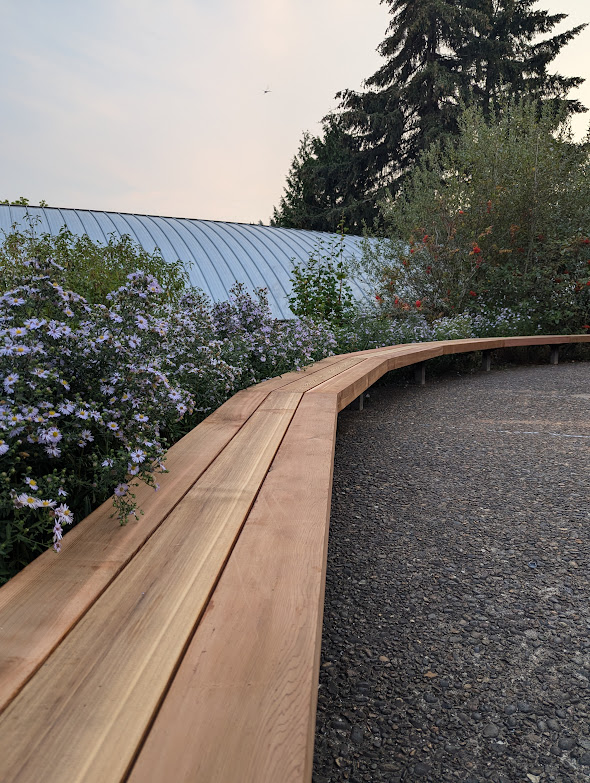
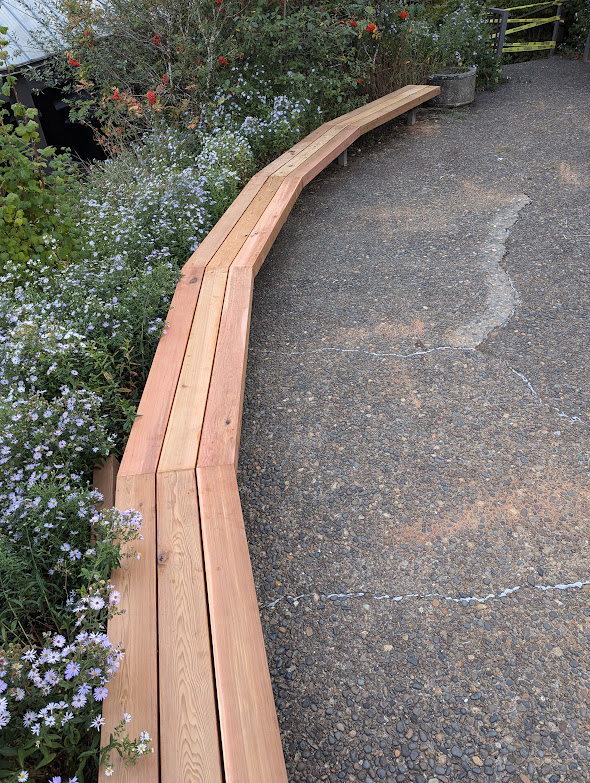

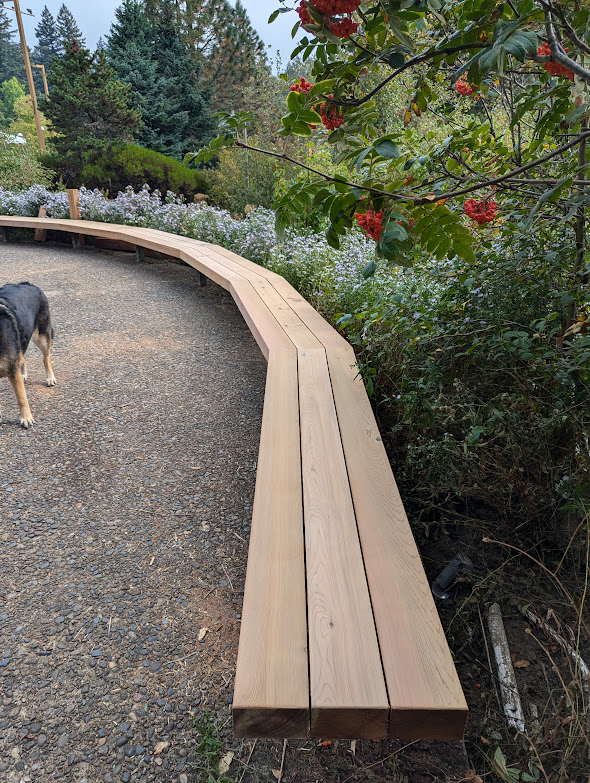
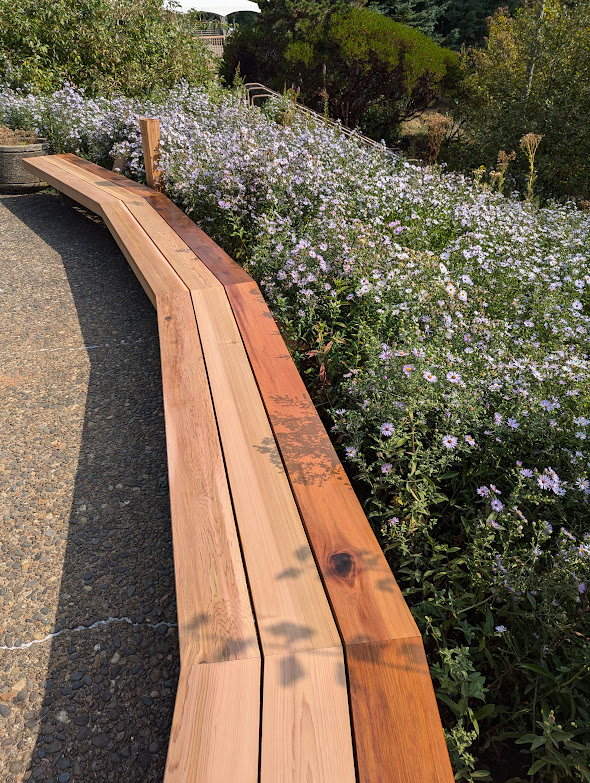
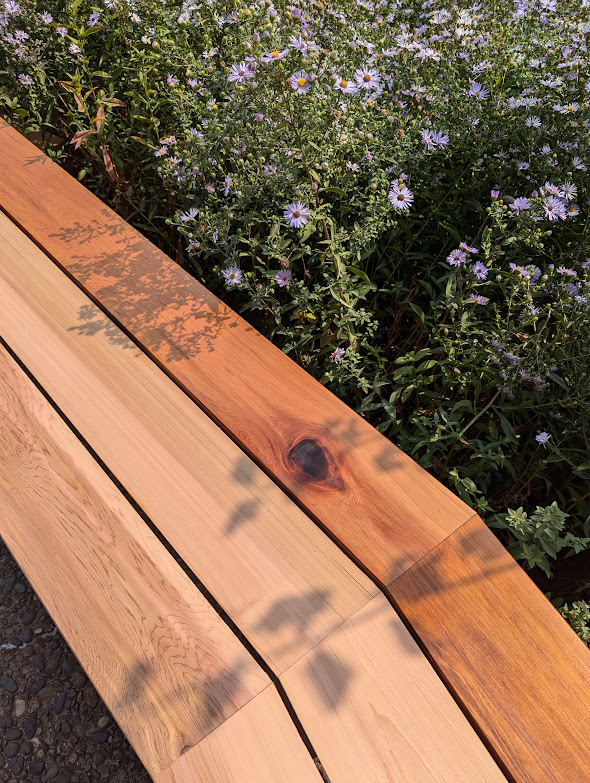
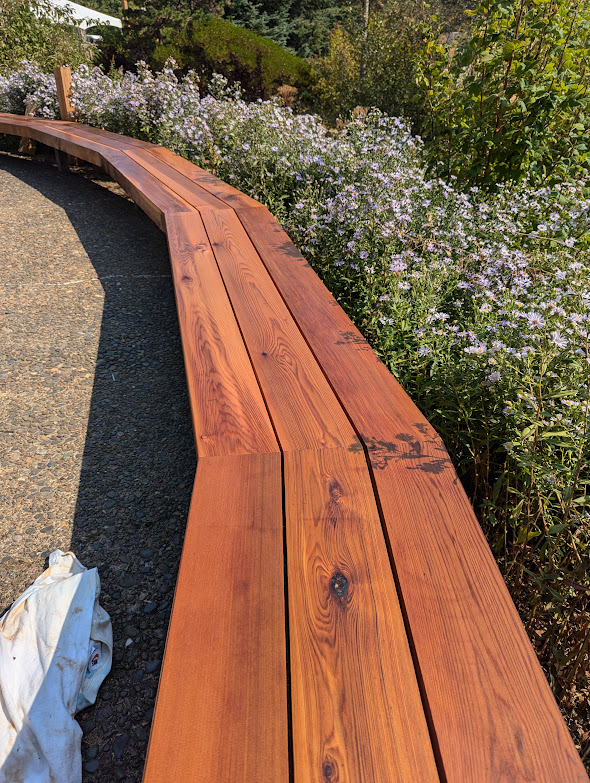
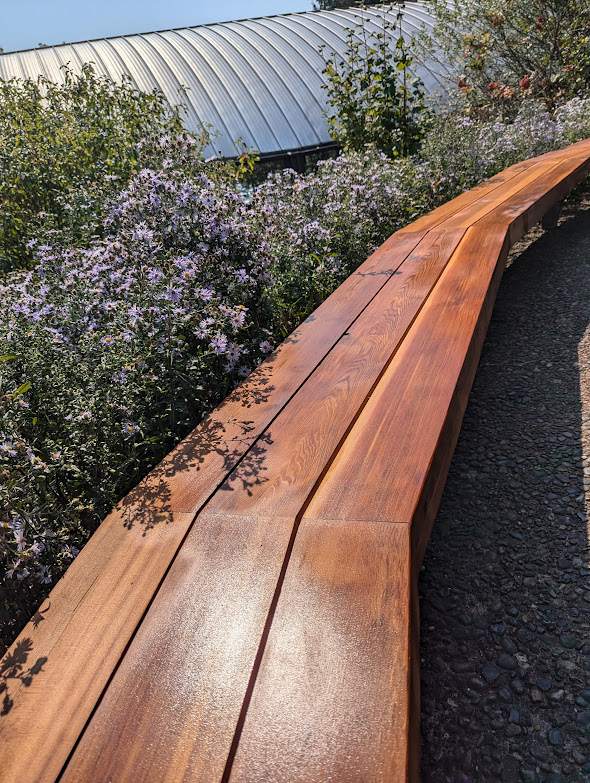
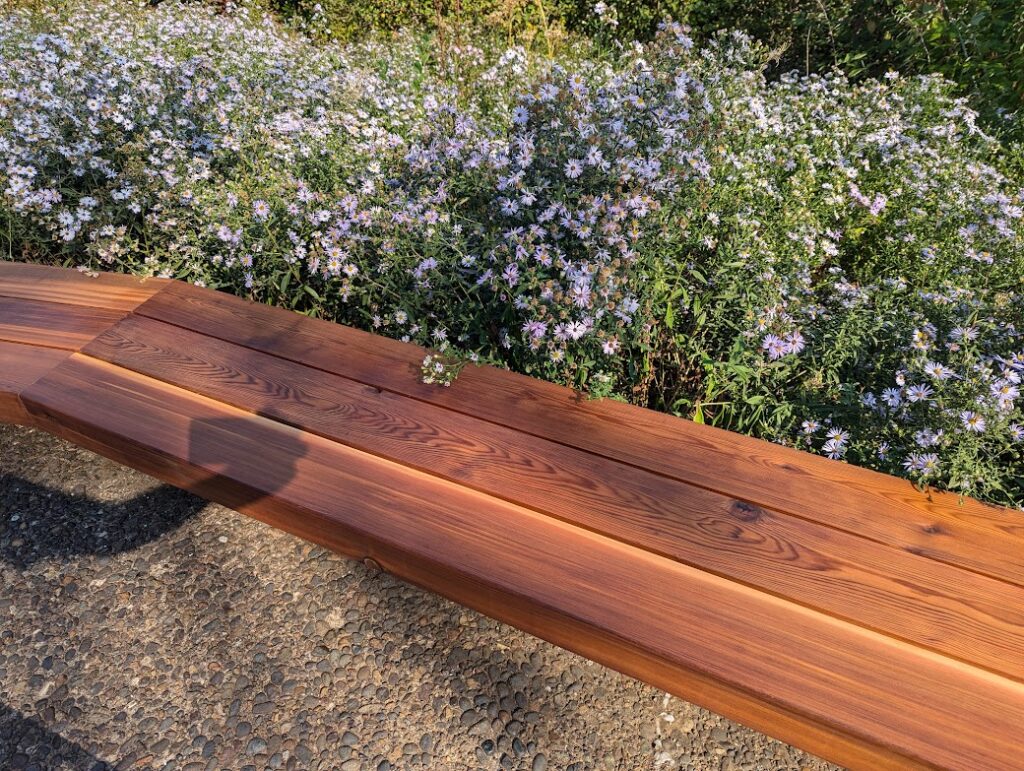
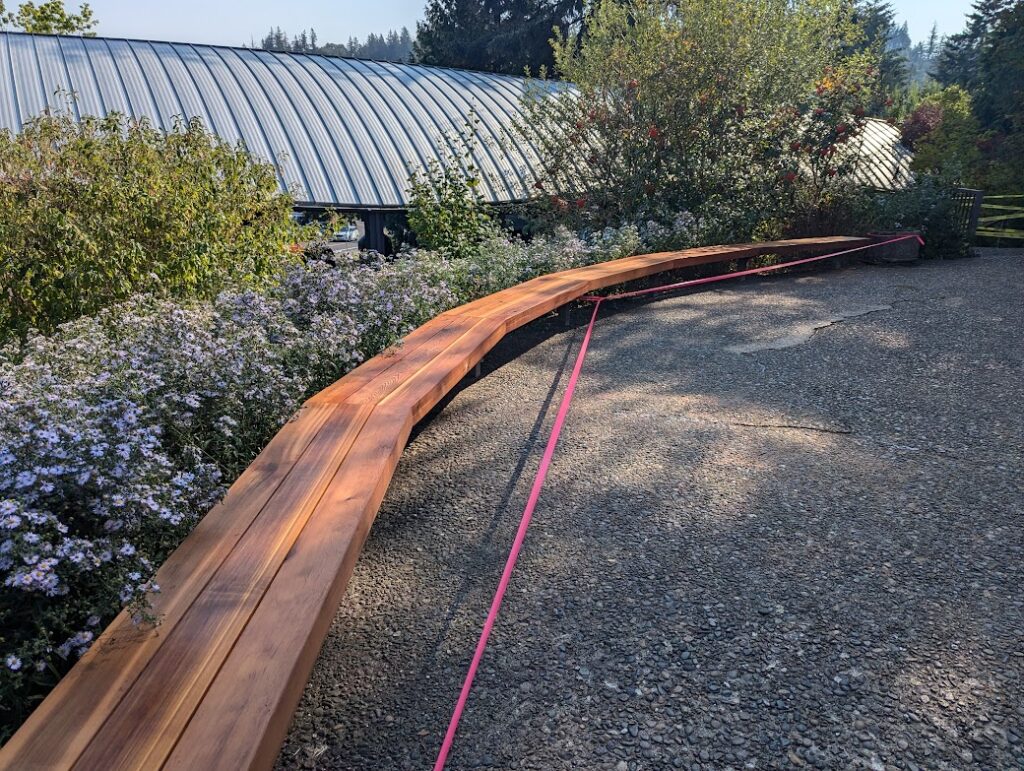
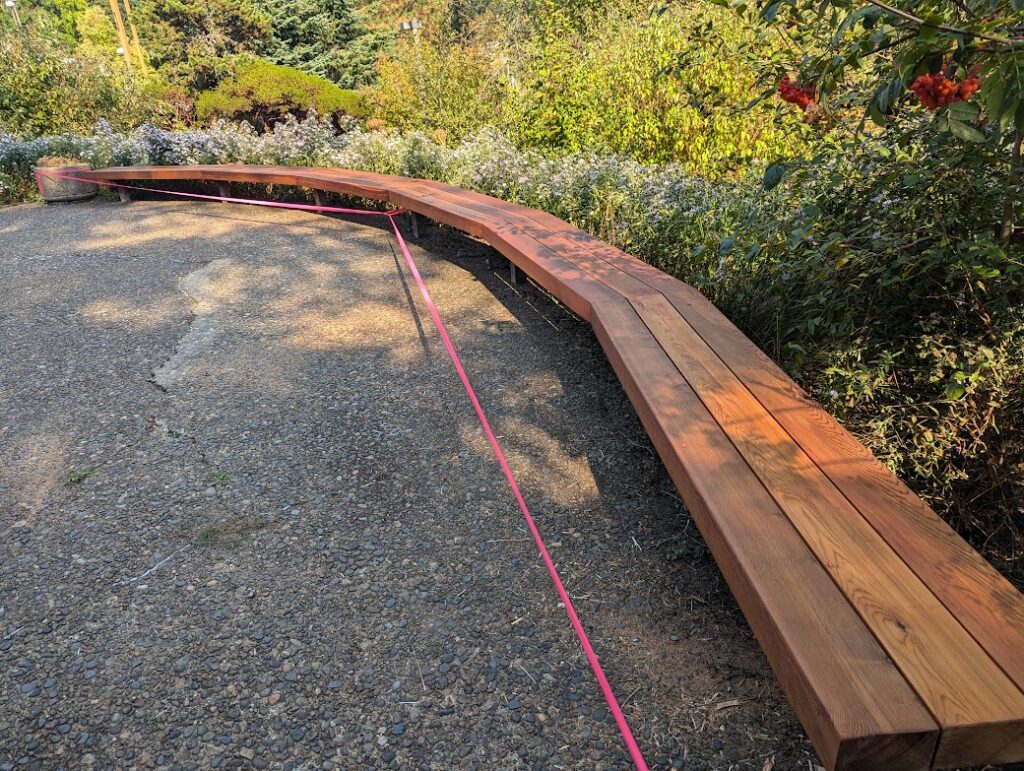
I really like how this turned out! I think it’s reasonable to point out that the really pretty wood and nice stain is doing the majority of the work in making this look good, but we’ll call it a team effort. The Forestry Center wanted to rename the place Cedar Bench Hall* but I was like “No, I’m sure that Cheatham guy was cool, just keep it like it is”, and they reluctantly agreed.
*no they didn’t.
Fireplace mantel and tile- July 2024
The project started out with the client wanting to do something to snazz up their ugly brick fireplace. They didn’t know exactly what, they just wanted it to not be an eyesore.
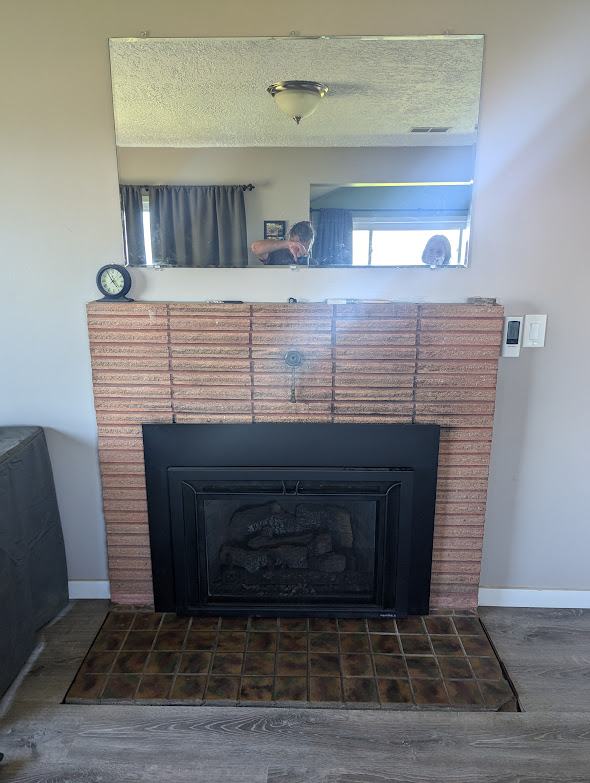
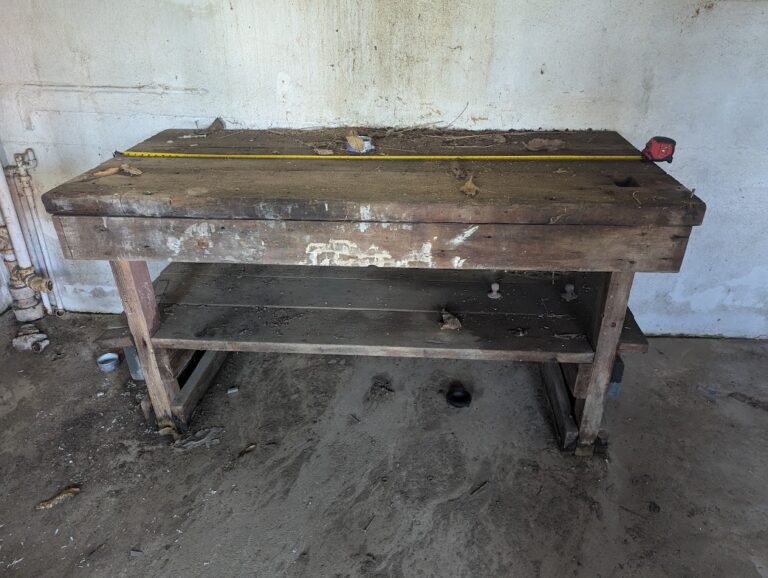
Their initial thought was just tile, but it would have seemed weird to not have a mantel, and I was envisioning something with legs, something that looked built in like it had always been there. They thought that sounded fine, and I sent them some options, pictures I’d grabbed from the internet, to see what might appeal to them. Also, they had an old run down outbuilding that had an old work bench in it, so I pitched them the idea of something pretty rustic made out of the old bench. I don’t think they totally got what I was talking about, but they said sure.
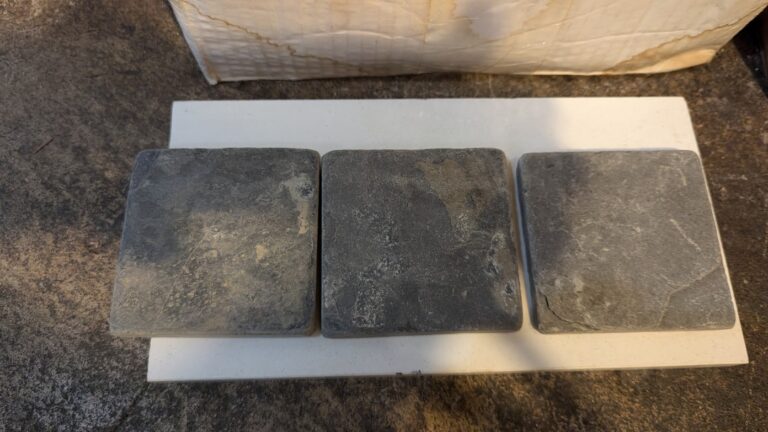
It would have been nice to match the tile in front of the fireplace, but that was like a hundred years old and unlikely to be available. I went to Hippo Hardware just to see if I could find anything close, and I could not, but what I did find was these little 4″ slate tiles, and I thought that would go well with the plan, so that’s what we did.
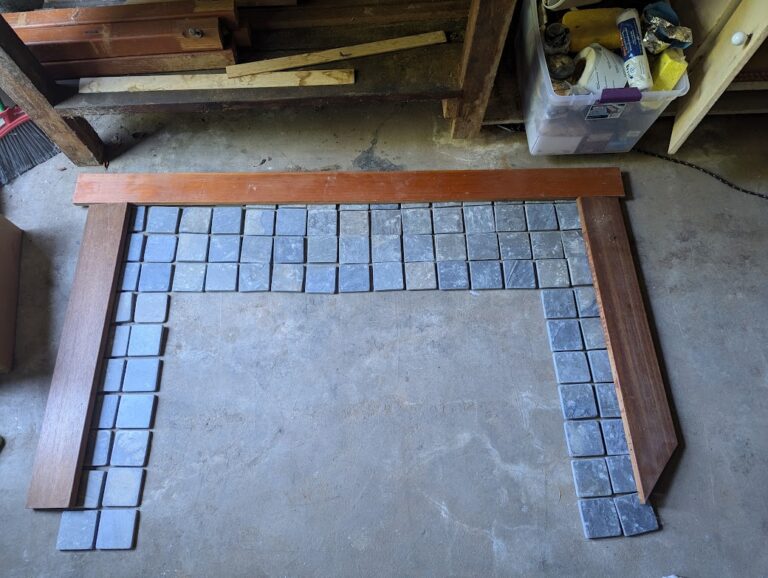
I sent her this mock-up to show her kind of what it would look like when done.
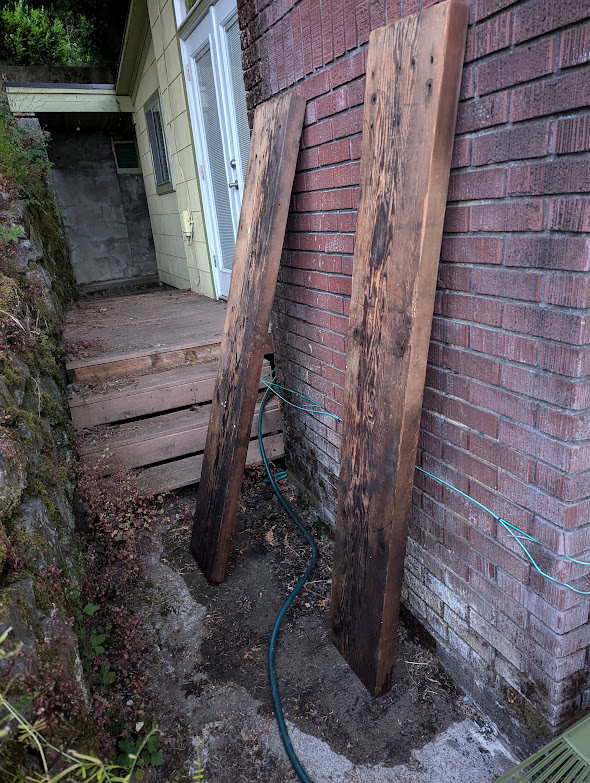
I carefully demoed the bench and scrubbed it down with just dish soap and a bristle brush.
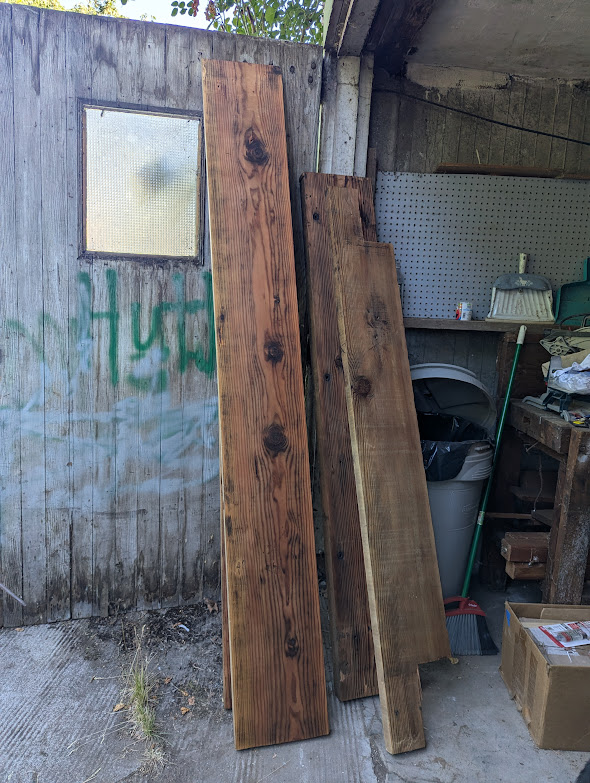
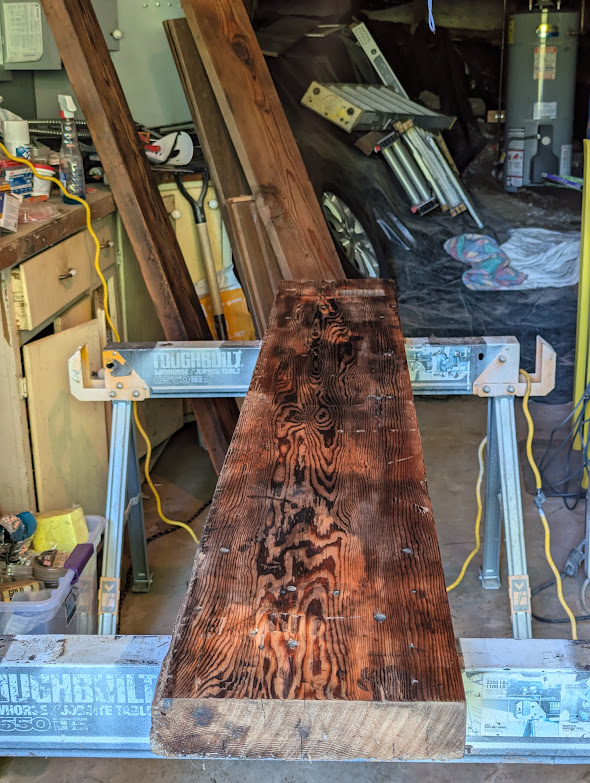
The plan was to build a fake beam that was held up by fake timbers.
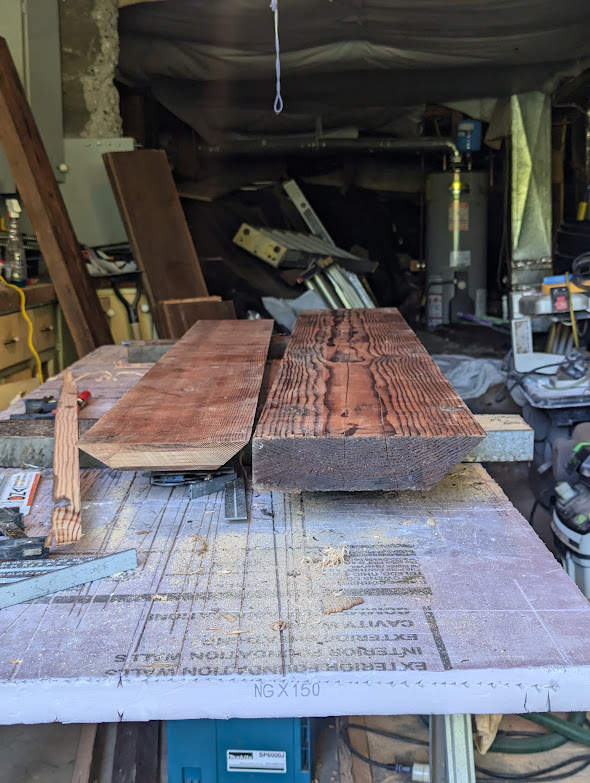
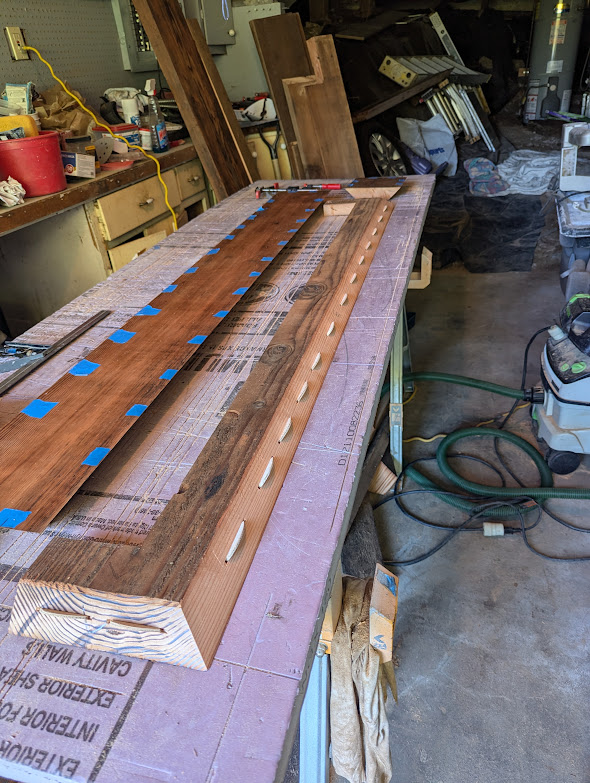
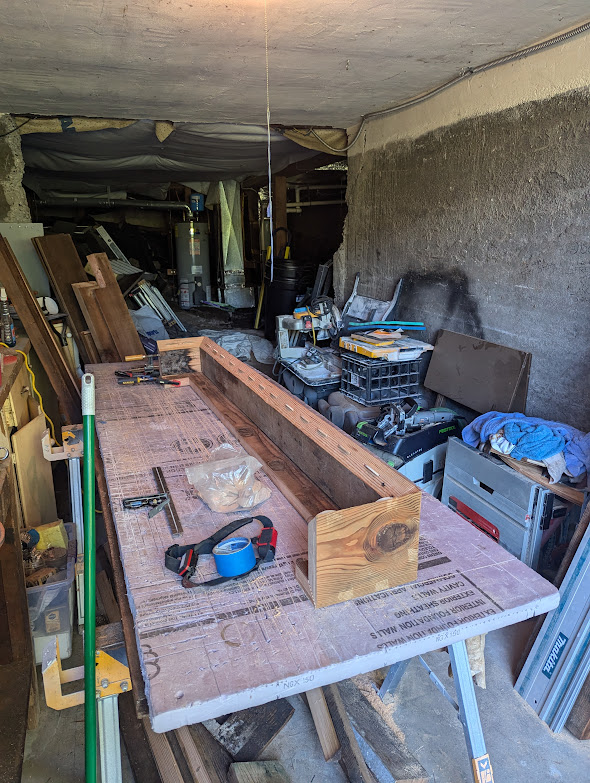
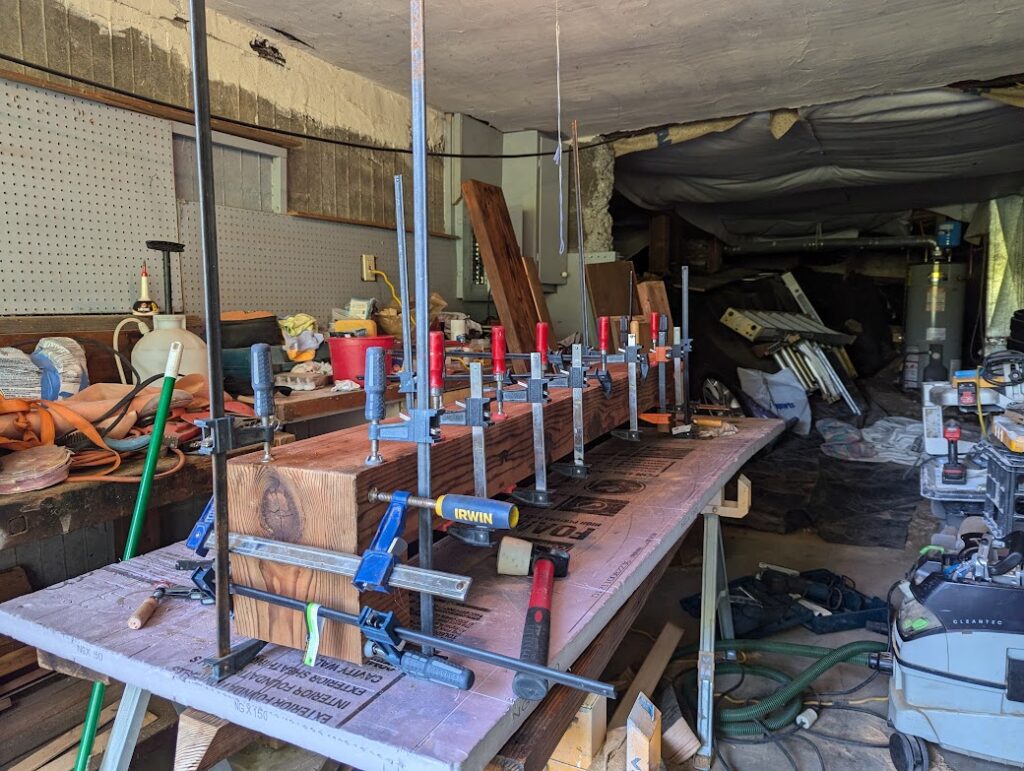
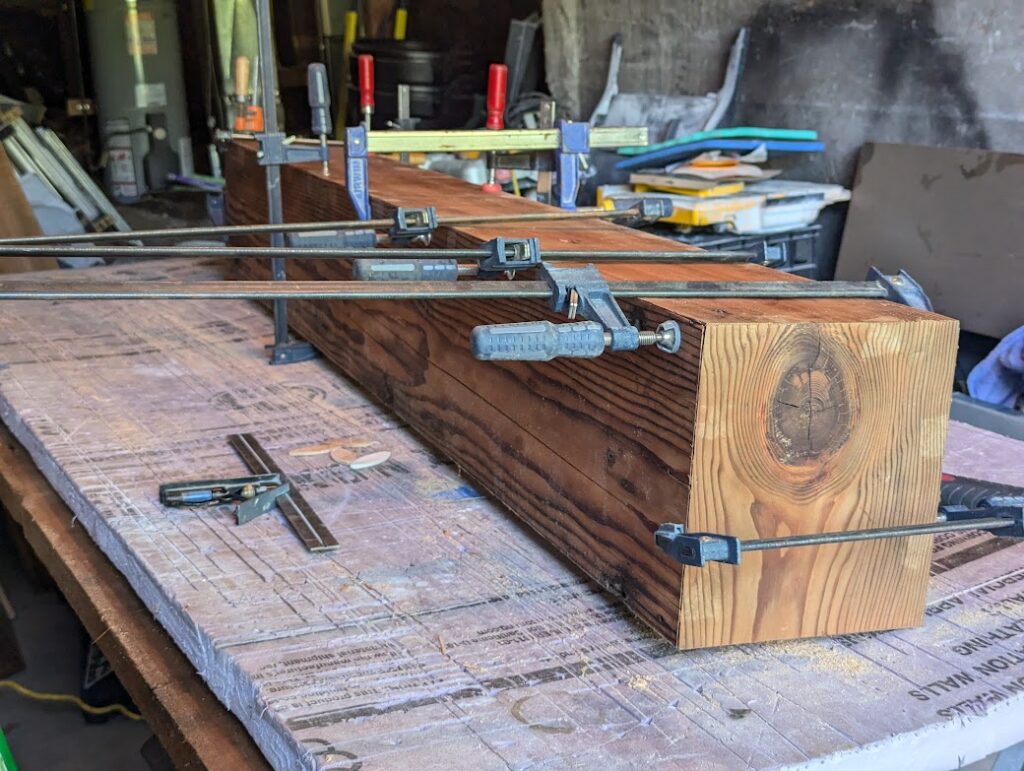
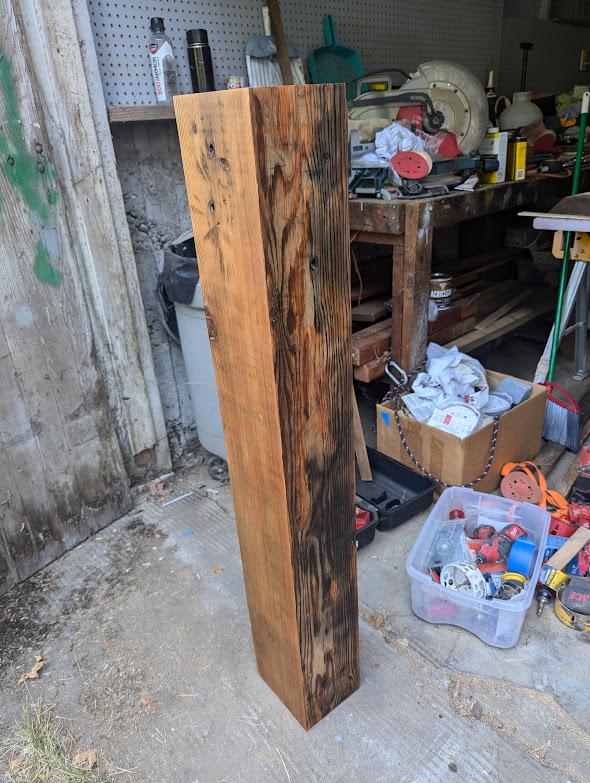
Next, I filled some of the bigger holes and cracks with epoxy mixed with walnut sanding dust, and sanded everything down until it was smoothish. I didn’t want to change the character of the wood by sanding too much, but that bench was so old and worked over it wasn’t an issue. I finished it off with several coats of an off the shelf tung oil mixture.
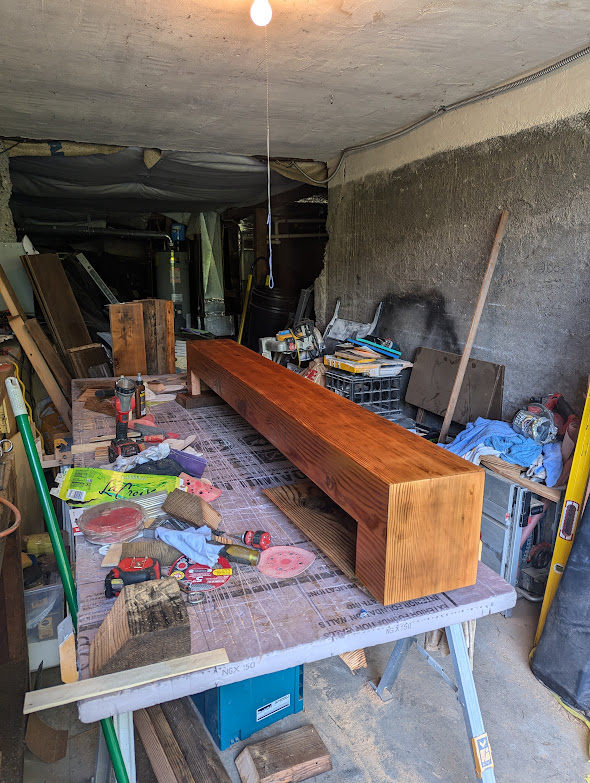
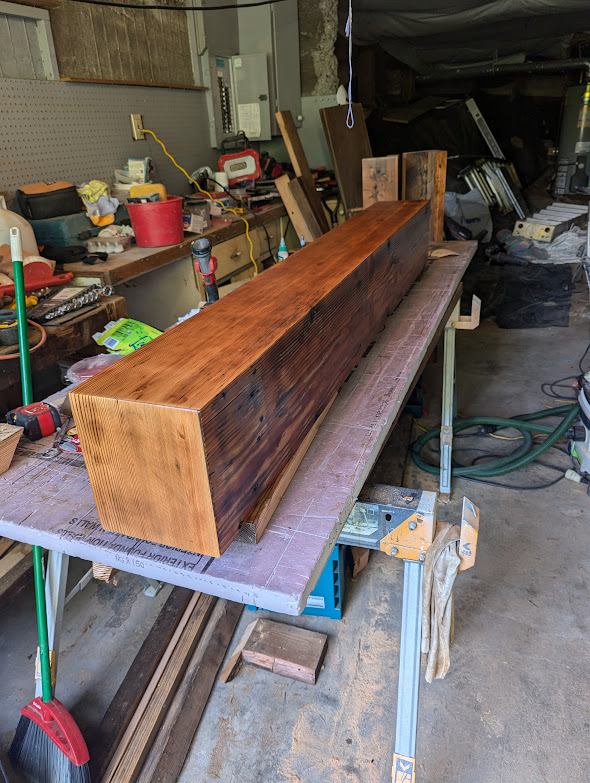
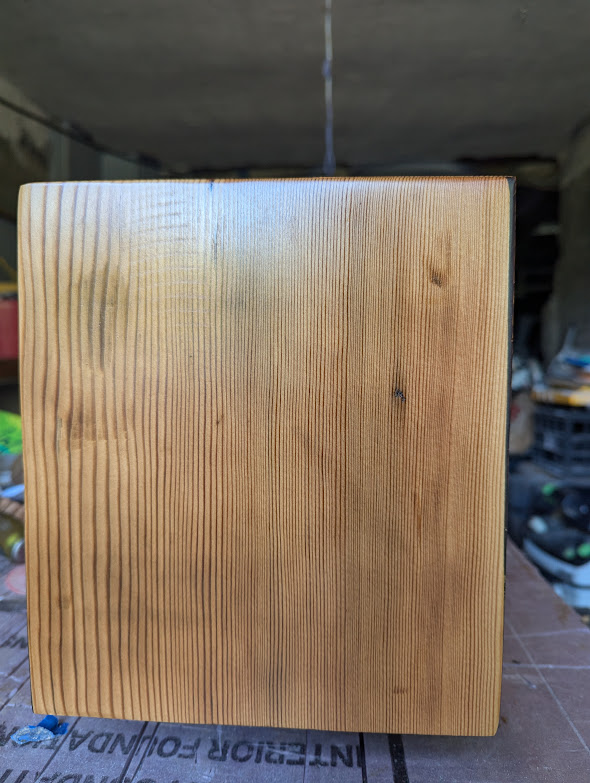
To install the mantel, I used these bolts that were a lag bolt on one side and treaded rod on the other. I screwed four of the bolts into the framing, drilled corresponding holes into the top piece of the mantel, filled the holes with epoxy, and pushed it into place.
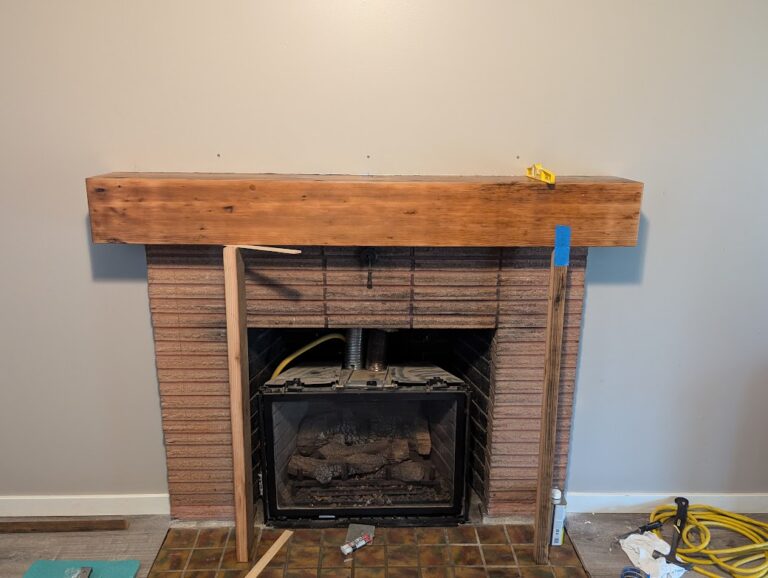
I did a slight variation of this for the legs. I drilled a couple of holes for each leg into the brick and use PLU construction adhesive to glue threaded rod in, and did the same to the legs. I didn’t need these to bare the weight necessary for the mantel, I just needed them held in place, although I bet this stuff would have been just fine for the mantel as well because those things were rock solid after the adhesive cured.
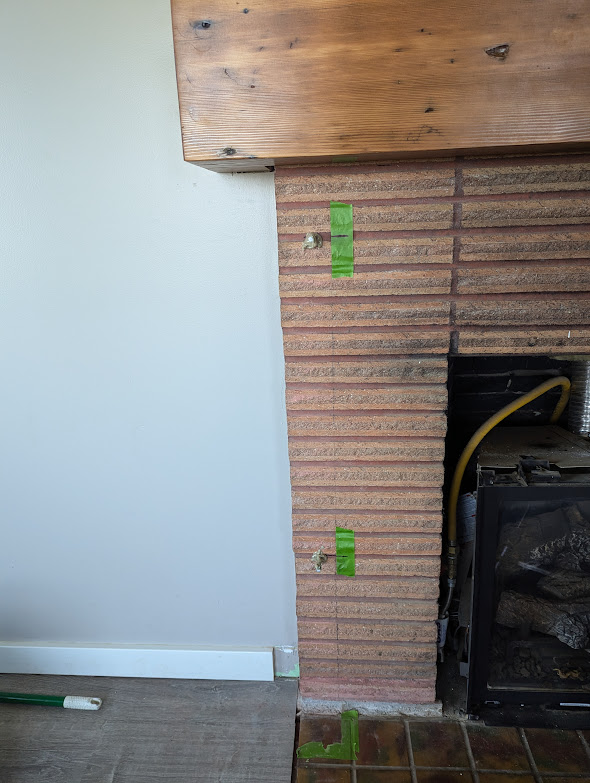
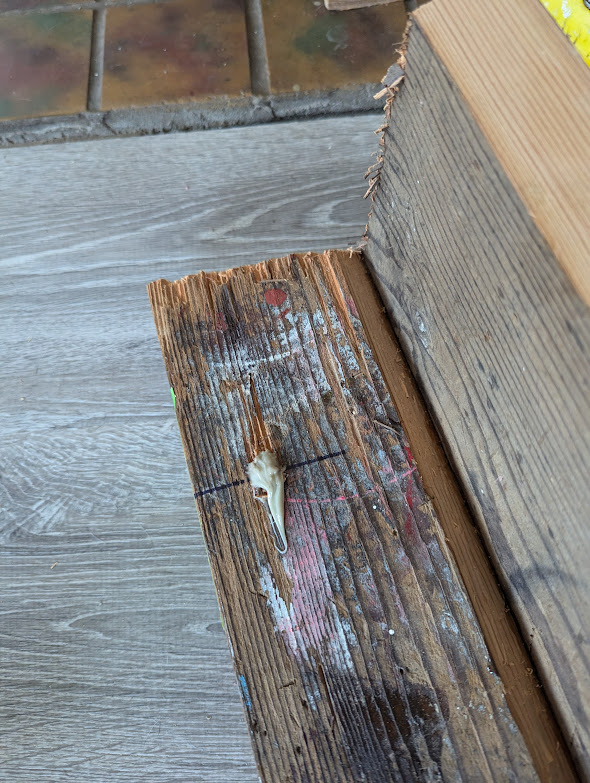
I briefly consulted with Fred the dog about this technique, and he felt it was sound.

I was initially just going to tile right over the brick, but once all the wood was up, I realized that was a dumb idea. The brick wasn’t plumb and it wasn’t flat, two things you really want when tiling, so I decided to cover it in cement board first.
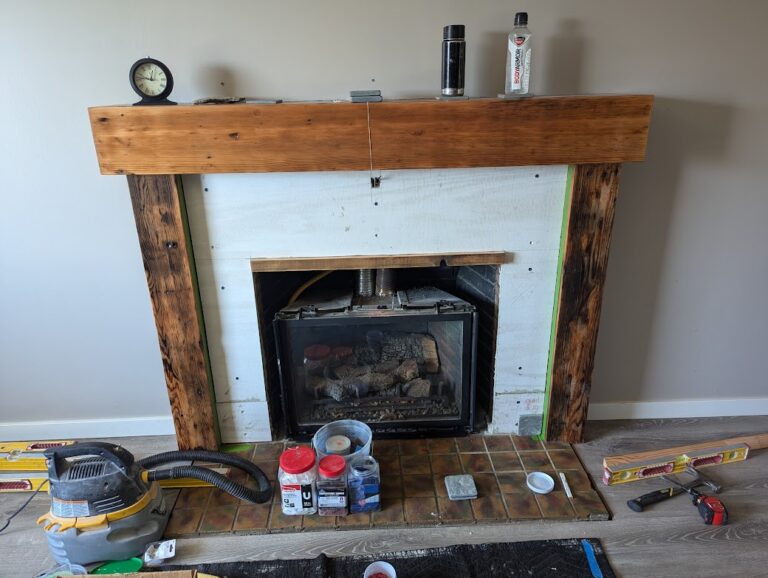
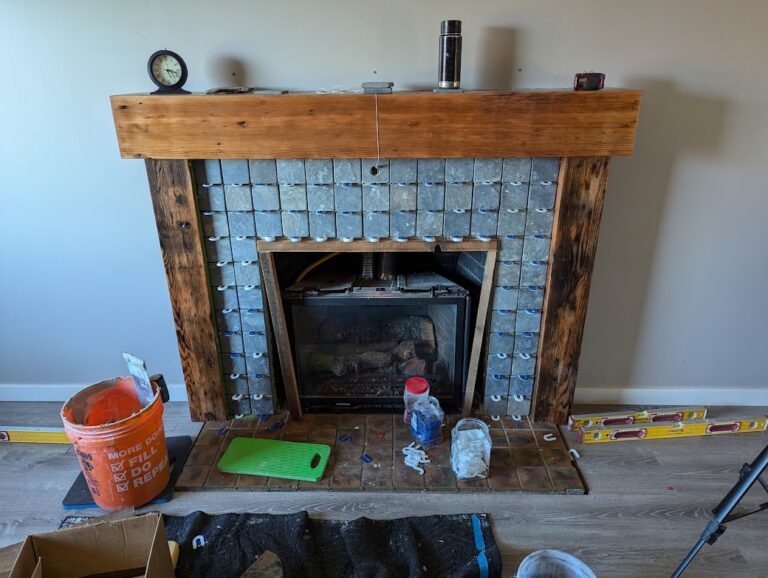
I was finally ready to tile. Due to planning and a bit of luck, I didn’t need to cut any tile. It was a little tricky because the tile wasn’t particularly consistent in size or thickness, but that was pretty fitting for the “rustic charm” of it.
And here it is with the grout.
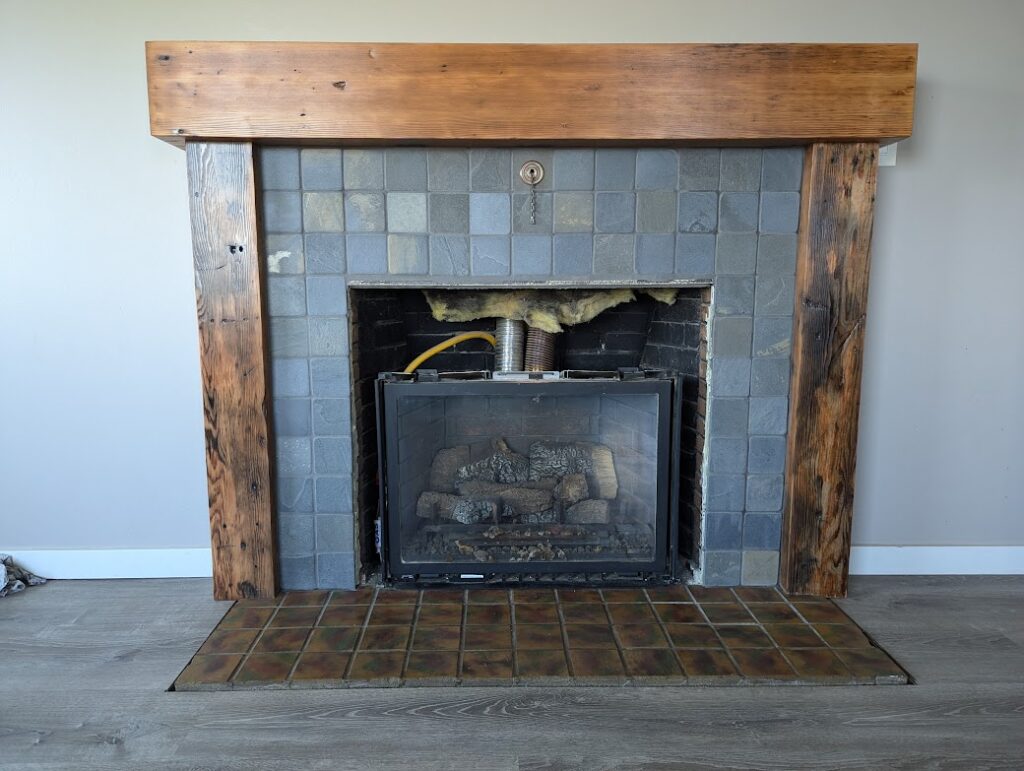
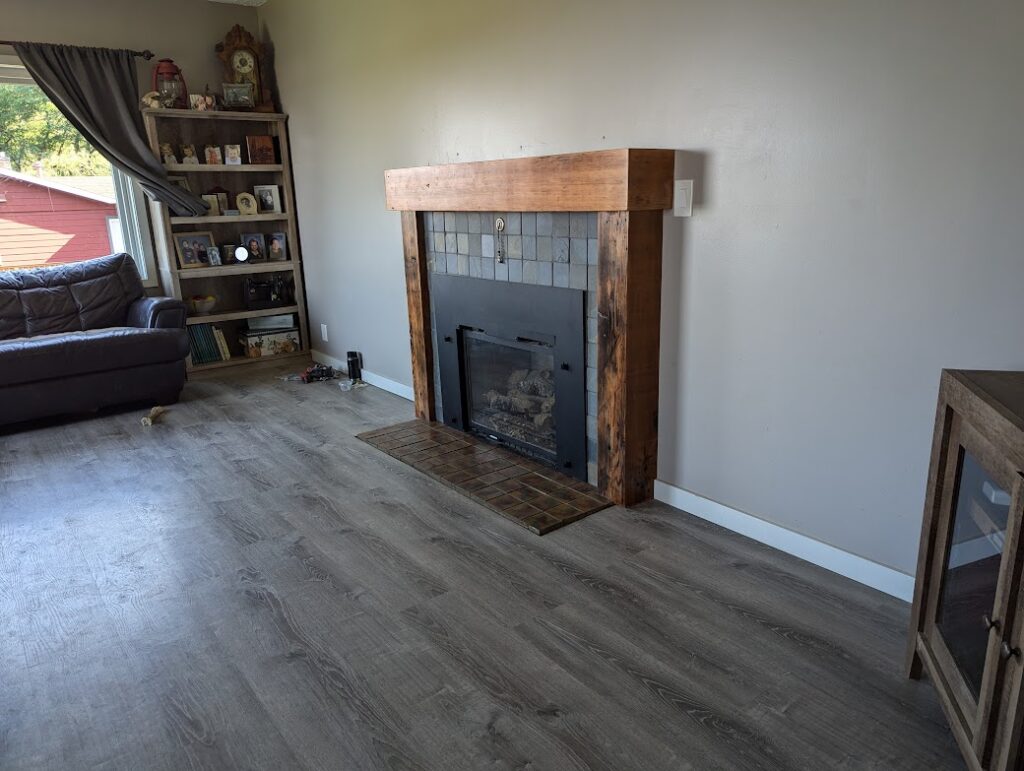
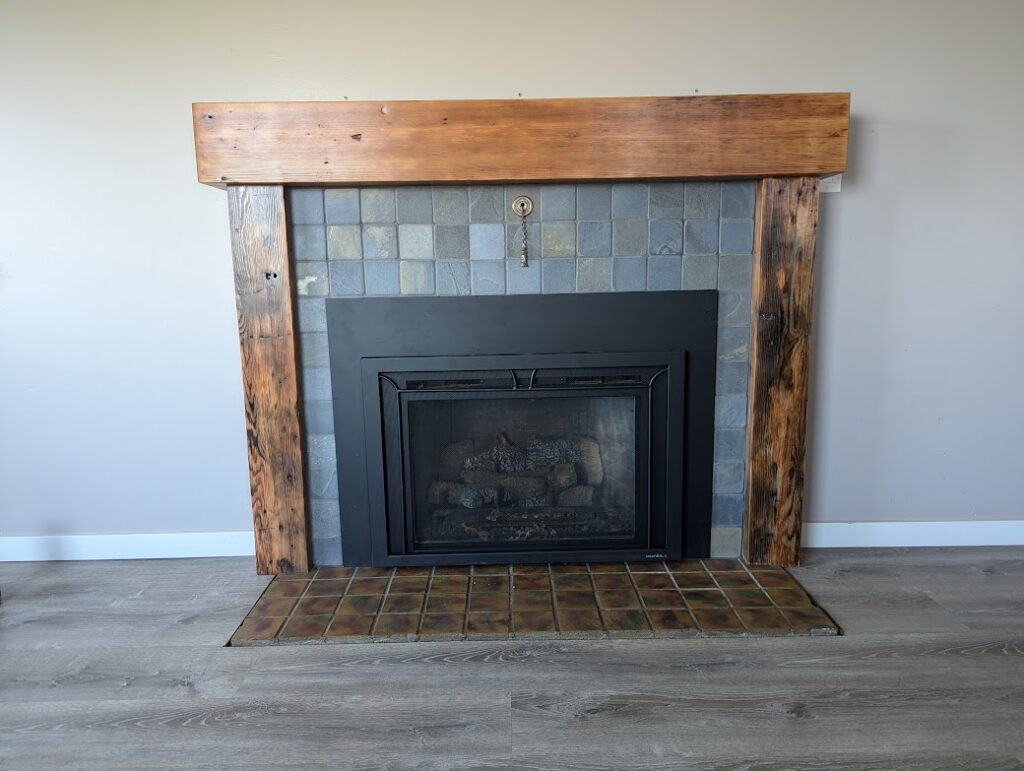
And to finish evertyhing off, here it is with the transitions/trim around the floor tile.
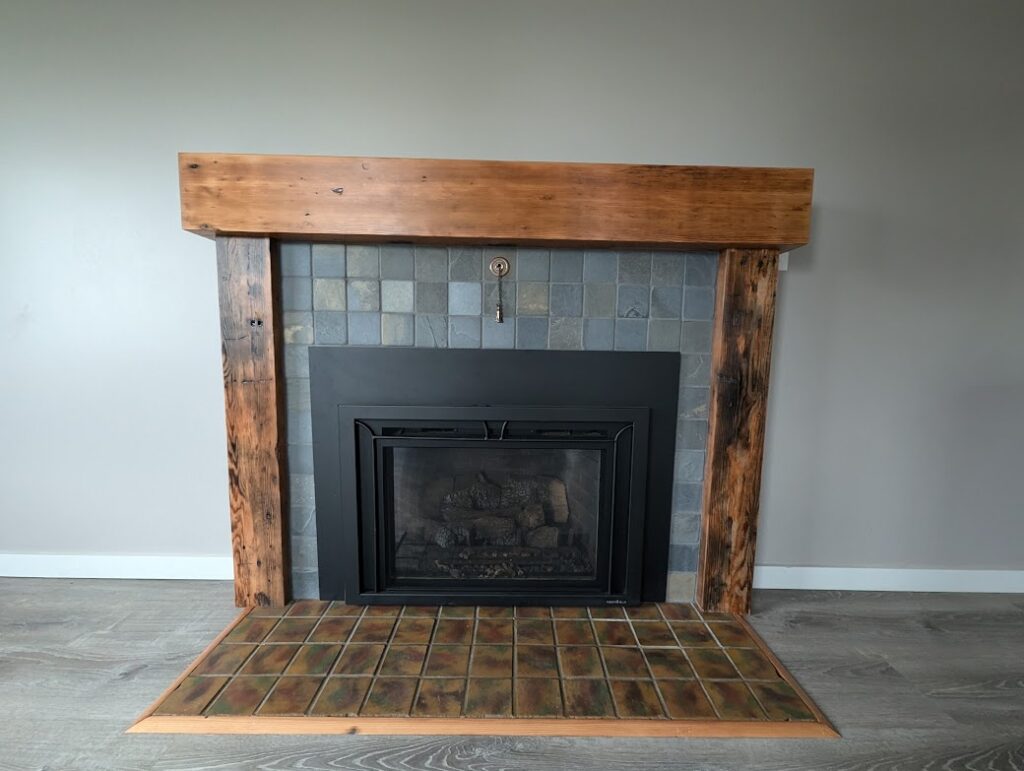
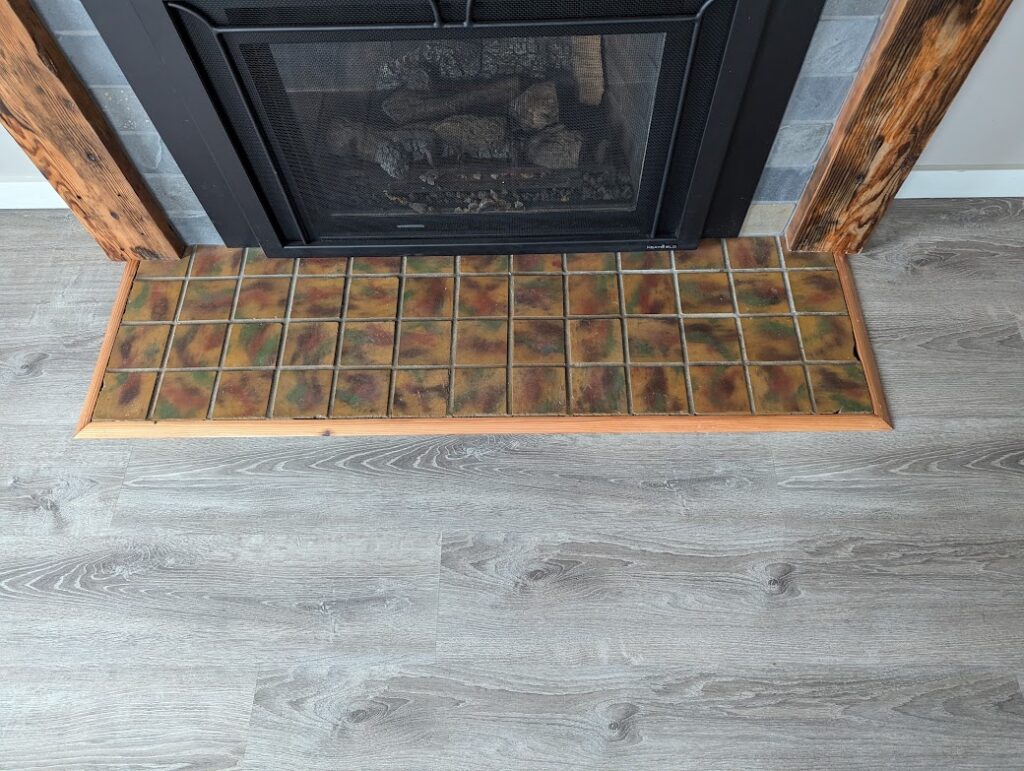
And ta-da! I was quite pleased with how this turned out.
